Fulham 0-1 Crystal Palace, EFL Cup

- Kick-off
- Venue
- Craven Cottage
- Referee
- Simon Hooper
- Attendance
- 22,420
Fulham 0-1 Crystal Palace. xG 1.5-0.6. Crystal Palace won it with fewer chances.
Ratings out of 10
Line-ups and ratings
Fulham
4-2-3-1 · Álvaro Arbeloa
Avg rating 6.61
Crystal Palace
3-4-2-1 · Pierre Sage
Avg rating 7.03
 6.7
Lecomte
#23 · Goalkeeper · Fulham
90′ played
No numbers for him yet. They come in every few minutes while the game is on.






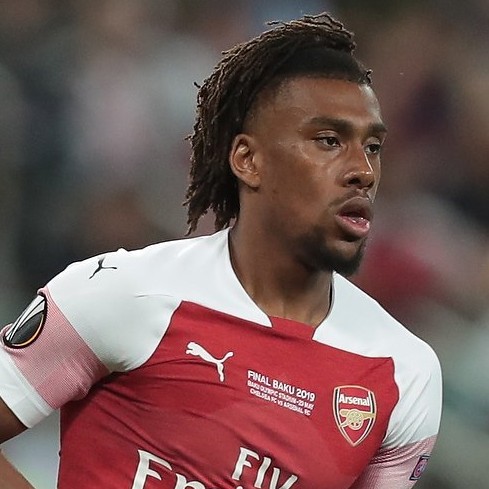

 8.4
Henderson
#1 · Goalkeeper · Crystal Palace
90′ played
No numbers for him yet. They come in every few minutes while the game is on.
 7.9
Lerma
#8 · Centre-back · Crystal Palace
90′ played
No numbers for him yet. They come in every few minutes while the game is on.
 7.6
Richards
#26 · Centre-back · Crystal Palace
90′ played
No numbers for him yet. They come in every few minutes while the game is on.
- 6.6
Chilwell
#33 · Left wing-back · Crystal Palace
61′ played
Off 61′
No numbers for him yet. They come in every few minutes while the game is on.
 7.0
Hughes
#19 · Midfielder · Crystal Palace
90′ played
No numbers for him yet. They come in every few minutes while the game is on.
 6.6
Doucouré
#28 · Midfielder · Crystal Palace
61′ played
Off 61′
No numbers for him yet. They come in every few minutes while the game is on.
- 7.8
Mingueza
#30 · Right wing-back · Crystal Palace
90′ played
1 assistPlayer of the match
Passing
- xA
- 0.06
- 7.1
Osorio
#24 · Attacking midfielder · Crystal Palace
77′ played
Off 77′
No numbers for him yet. They come in every few minutes while the game is on.
 6.9
Guessand
#29 · Attacking midfielder · Crystal Palace
77′ played
Off 77′
No numbers for him yet. They come in every few minutes while the game is on.

Bench


Bench
 6.3
Wharton
#20 · Substitute · Crystal Palace
29′ played
On 61′
No numbers for him yet. They come in every few minutes while the game is on.
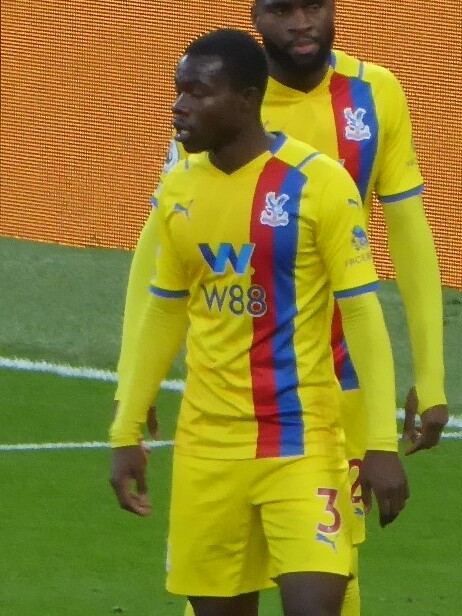



Tap a player who has played to see his numbers from this game. Photos: Timmy96 / CC0 · Bryan Berlin / CC BY-SA 4.0 · Антон Зайцев / CC BY-SA 3.0 · AFC Bournemouth / CC BY 3.0 · Matlock-Photo from Derbyshire, England / CC BY 2.0 · Supporterhéninois / CC0 · Yuliia Perekopaiko, CC BY-SA 4.0 · Chensiyuan / CC BY-SA 4.0 · Ardfern / CC BY-SA 4.0 · Kelvin Stuttard / CC BY-SA 4.0 · Sven Mandel / CC BY-SA 4.0
Side by side
The numbers
- 74%Possession26%FUL 74%, CRY 26%.
- 1.54Expected goals (xG)0.56FUL 1.54, CRY 0.56.
- 1.54Non-penalty xG0.56FUL 1.54, CRY 0.56.
- 1.20xG on target1.31FUL 1.20, CRY 1.31.
- 14Shots4FUL 14, CRY 4.
- 4On target3FUL 4, CRY 3.
- 4Big chances1FUL 4, CRY 1.
- 789Passes280FUL 789, CRY 280.
- 91%Pass accuracy74%FUL 91%, CRY 74%.
- 9Corners0FUL 9, CRY 0.
- 11Tackles17FUL 11, CRY 17.
- 6Interceptions11FUL 6, CRY 11.
- 2.2PPDA (lower = more pressing)10.6FUL 2.2, CRY 10.6.
- 11Fouls12FUL 11, CRY 12.
- 1Yellow cards2FUL 1, CRY 2.
- 0Red cards0FUL 0, CRY 0.
Minute by minute
Every moment
 Fulham
 Crystal Palace
- Yellow card, Berge19′
- 37′
- 50′Yellow card, Lerma
- Substitution, Cairney (Off Tete / Palacios / Larsson)58′
- Substitution, Castagne (Off Tete / Palacios / Larsson)58′
- Substitution, King (Off Tete / Palacios / Larsson)58′
- 61′Substitution, Mitchell (Off Doucouré / Chilwell)
- 61′Substitution, Wharton (Off Doucouré / Chilwell)
- 63′Yellow card, Guessand
- 71′
- 72′
- 77′Substitution, Pino (Off Osorio / Guessand)
- 77′Substitution, Kamada (Off Osorio / Guessand)
- 82′
Photos: Bryan Berlin / CC BY-SA 4.0 · Chensiyuan / CC BY-SA 4.0 · AFC Bournemouth / CC BY 3.0 · Timmy96 / CC0 · Ardfern / CC BY-SA 4.0 · Kelvin Stuttard / CC BY-SA 4.0 · Sven Mandel / CC BY-SA 4.0
18 shots
Every shot
← CRY attack
FUL attack →
- Goal
- Saved
- Missed or woodwork
- Blocked
- Bigger = higher xG
Expected goals, minute by minute
How the game flowed
Fulham1.54xG
Crystal Palace0.56xG
Full time0–1
Each step is a shot, its height the chance it was a goal. Drag across the chart to replay the game.
Five minutes at a time
Who was on top
Fulham on top90%
Crystal Palace on top10%
Shot quality and touches in the final third, five minutes at a time. Goals, cards and subs sit at their minute, home above the bars and away below: hover or tap one to see who.
Average positions and passing links
Pass networks
Tap or hover a player to see who they passed with and how often.
Tap or hover a player to see who they passed with and how often.
Fulham leaned more on one or two passers (centralisation 0.13 against 0.06).
Centralisation index runs from 0, when every player made the same number of passes, to 1, when one player made them all. Higher means the play ran through fewer players. Attacking to the right.